I recently purchased a GCL Limited, and 3 days after purchase, the same squeaks and rattles noise as your car.
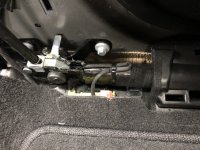
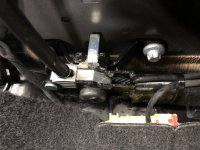
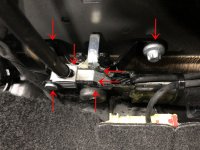
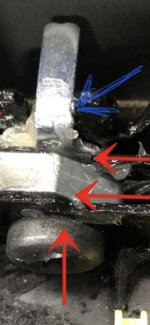
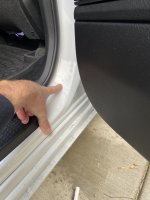
I remembered what Axg1040 mentioned and looked into the lower part of the B pillar.
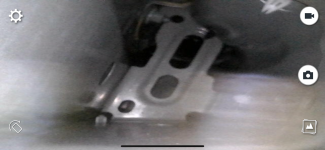
The thing connected to the black sheetmetal is presumed to be a seat belt pretensioner, and he said that since it was the sound of metal rubbing here, grease was applied to the place to solve the noise.
When I touched this part with my hand, I didn't notice any loose movement and the black pretensioner cylinder had some play up and down.
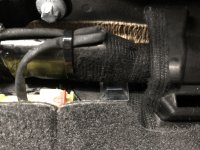
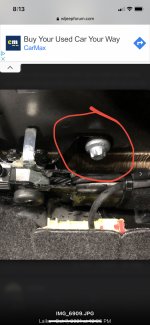
What I could do was attach fibrous tape and clear bumper to reduce the noise, and also apply grease to the sheetmetal. But my efforts did not solve the noise problem.
I visited a dealer this morning and got a diagnosis for this issue, and they admitted that noise was generated around the B pillar. But they asked me to come back in 2 weeks for more detailed diagnosis and parts were needed.
I hope this issue is resolved quickly, and if it does, I would like to share the solution with you.
I still don't regret buying the GCL, but it made me sad that my friend joked about the noise when he got into my car and asked "is this a brand new car?"